
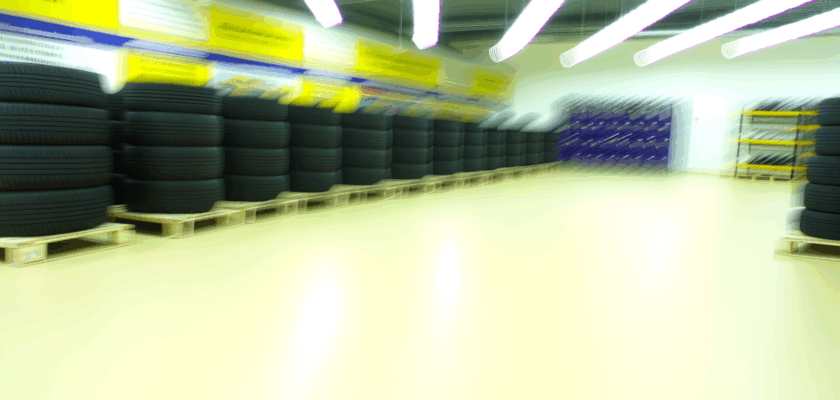
For car enthusiasts and everyday drivers alike, storing tyres efficiently can be a challenge. Loose tyres clutter garages, taking up valuable space and posing safety hazards. A practical solution is a 3-tier tyre rack, which maximizes vertical storage and keeps your tyres organized and accessible. This article explores why a 3-tier design is ideal and provides straightforward plans you can complete over a weekend.
Why Choose a 3-Tier Tyre Rack for Your Garage
A 3-tier tyre rack offers optimal use of limited garage space by stacking tyres vertically rather than spreading them across the floor. This vertical organization not only frees up floor area for other tools or vehicles but also keeps tyres off damp or dirty surfaces, helping to preserve their condition. For homeowners with multiple sets of tyres, winter and summer, a 3-tier rack ensures all are stored neatly without mixing or damage.
Another advantage is the easy accessibility that a 3-tier design offers. Each tier can hold a separate set or size of tyres, making retrieval quick and hassle-free. Unlike piled tyres, which require shifting to reach the bottom, the rack’s open design provides clear visibility and easy handling. This is especially useful for seasonal tyre changes, where speed and convenience are priorities.
Cost-wise, building a 3-tier tyre rack is very affordable. Using common materials like wood or metal, the rack can be customized to fit your space and tyre sizes without expensive hardware or professional installation. Additionally, the rack’s sturdy structure ensures durability and safety, preventing tyres from rolling or falling, which can be a risk with simpler storage methods.
Step-by-Step Guide to Building Your Tyre Rack Fast
Start by gathering materials: typically, you’ll need wooden planks or metal tubing, screws or bolts, brackets, and basic tools such as a drill, screwdriver, measuring tape, and a saw. Choose sturdy, untreated wood like pine for indoor use or powder-coated metal for a more industrial finish. Measure your tyres to determine the rack’s dimensions, allowing enough clearance for easy placement and removal.
Begin building the frame by cutting the vertical supports to the desired height, usually around 4 to 5 feet for three tiers. Attach horizontal braces at measured intervals to create stable shelves. Reinforce corners with metal brackets or additional wood blocks for enhanced strength. Ensure the structure is square and level before proceeding to the next step.
Finish by securing the shelves where the tyres will rest. You can use slats spaced slightly apart for air circulation or solid planks for maximum support. Sand any rough edges and apply a protective finish if using wood. Once assembled, place the rack against a wall for added stability, anchor if necessary, then load your tyres. The entire process can be completed in a day or two, providing a durable and practical tyre storage solution.
A 3-tier tyre rack is a smart investment for anyone looking to improve garage organization and tyre care. By optimizing vertical space and offering easy access, it addresses common storage challenges effectively. With simple materials and basic tools, building one yourself over a weekend is entirely achievable, bringing order and efficiency to your garage without breaking the bank.